AI Anatomy · 3D prints
Things made for the Bambu Lab X2D Combo: real places as 3D maps first, with every slicer number and file attached.
Prints
01-
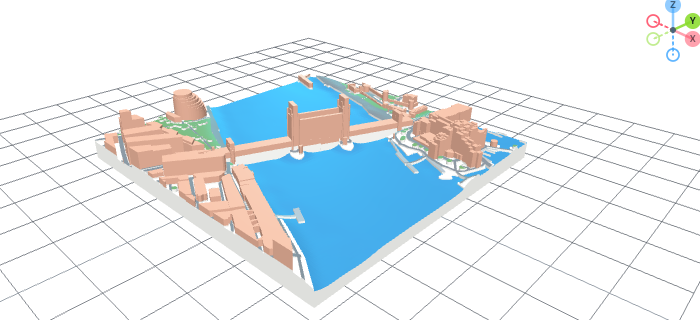
Colour preview 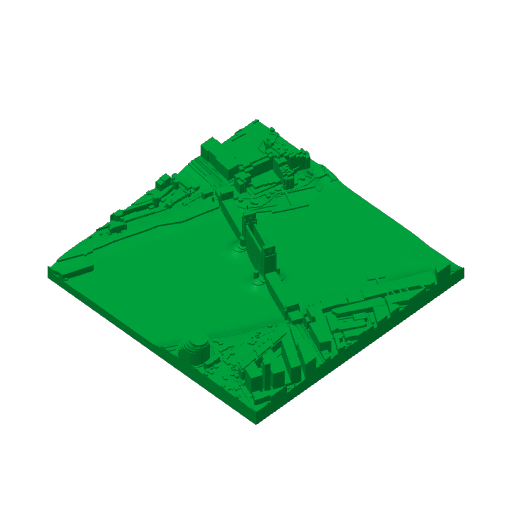
As sliced for the X2D Tower Bridge, London sliced, not printed
3D map · 120 × 120 × 25.2 mm
A 120 × 120 mm square of London around Tower Bridge: buildings, roads, the Thames, rail and parks, raised in 3D.
A test model while Anqi chooses the first place to print. Nothing prints until she picks.
- Print time 2 h 7 min
- Filament 55.62 g Bambu PLA Basic
- Layers 126
- Settings 0.4 mm nozzle, 0.20 mm Standard, 2 walls, 10 % honeycomb infill, no supports
- Colour One colour as sliced
Time, filament and layers are the slicer's estimate (Bambu Studio 02.08.02.61, command line), read from the sliced file.
Printing it in colour
The model file keeps 4 map colours (white base, terracotta buildings, blue water, grey roads). The command-line slicer ignores them. To print in colour, open the coloured 3MF in the Bambu Studio app, map the colours to 4 AMS slots and re-slice. Colour swaps add time and purge waste that has not been measured yet.
Model (.3mf, with colours) · Ready to print on the X2D (.gcode.3mf)
Made with PrintNexus 3D Map Maker. Map data © OpenStreetMap contributors (ODbL). Terrain: Mapzen / AWS Open Data. Licence
How a map print is made
02- 01
Pick the place and the size
A street, a neighbourhood or a landmark. The X2D bed is 256 × 256 mm. 120 mm squares print in about two hours.
- 02
Make the model
PrintNexus 3D Map Maker (free, no account) turns OpenStreetMap data into a 3D model: buildings, roads, water, rail and parks. Download the coloured 3MF.
- 03
Slice it for the X2D
Bambu Studio, PLA, 0.20 mm layers, no supports. For colour, assign the map's colours to AMS slots in the app.
- 04
Print
Hardware checks the printer is free first. Nothing prints without Anqi's go-ahead.
Your own place
03Send Hardware a place name or address. It makes the model, slices it and adds it here before anything is printed.